

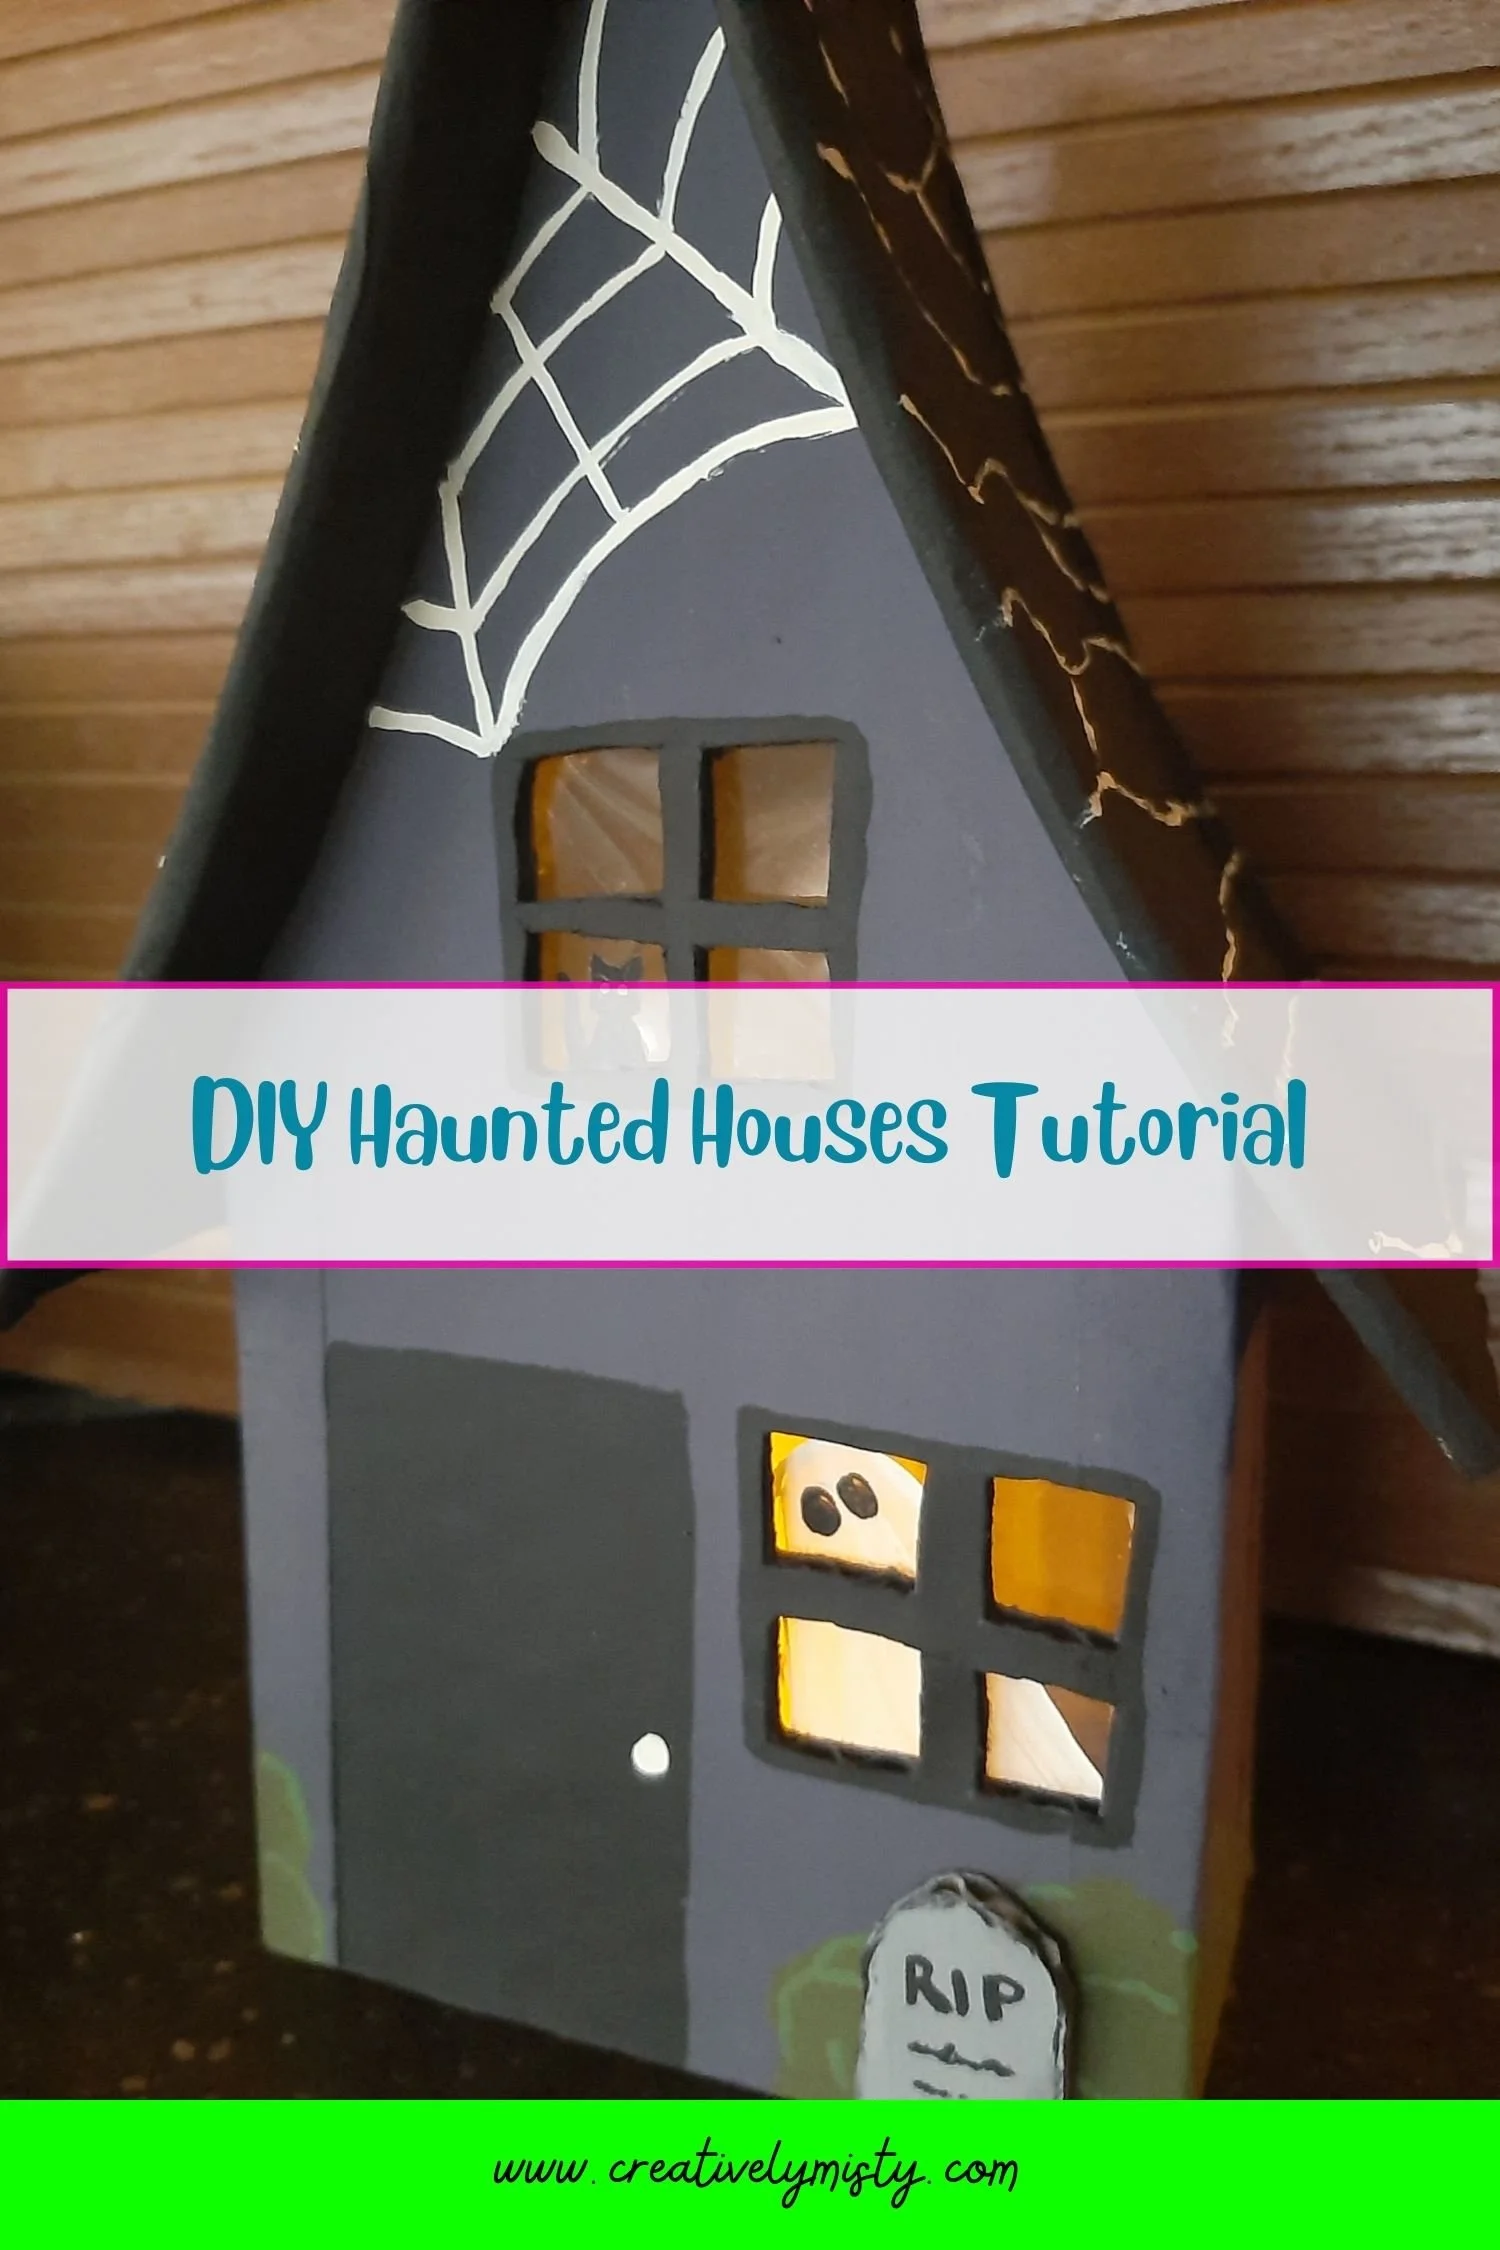
DIY Haunted Houses
Sometimes I recommend and attach affiliate links to products in my tutorials. If you click on those links and buy something, I will make small commission at no extra cost to you.
Skill level: Beginner
Time needed: 15 minutes
Happy Halloween!!
Handmaking custom Halloween decor is tons of fun! You get to be the designer and show off your creativity, who doesn’t love that!
This adorable, little haunted house is easy to create with just a few items so you can make as many as you desire. So go on, grab your supplies and create a whole big ol’ village while you're at it!
Supplies:
Cardboard
Paper bag
Acrylic paint
Brush
Scissors
Xacto knife
Hot glue gun
Hot glue sticks
Acetate
Pencil
Ruler
Draw a 4x4” square onto the cardboard.
Mark 5” up from the center top of the 4x4” square.
Connect the top point to each corner of the square creating a long triangle. This creates the front of the house.
Cut out the house.
Trace the house on another piece of cardboard and cut out for the back of the house.
Cut out one or two 1 1/2x1 1/2”windows on the front of the house.
Cut out one or two 2x2” acetate squares (depends on how many windows you made).
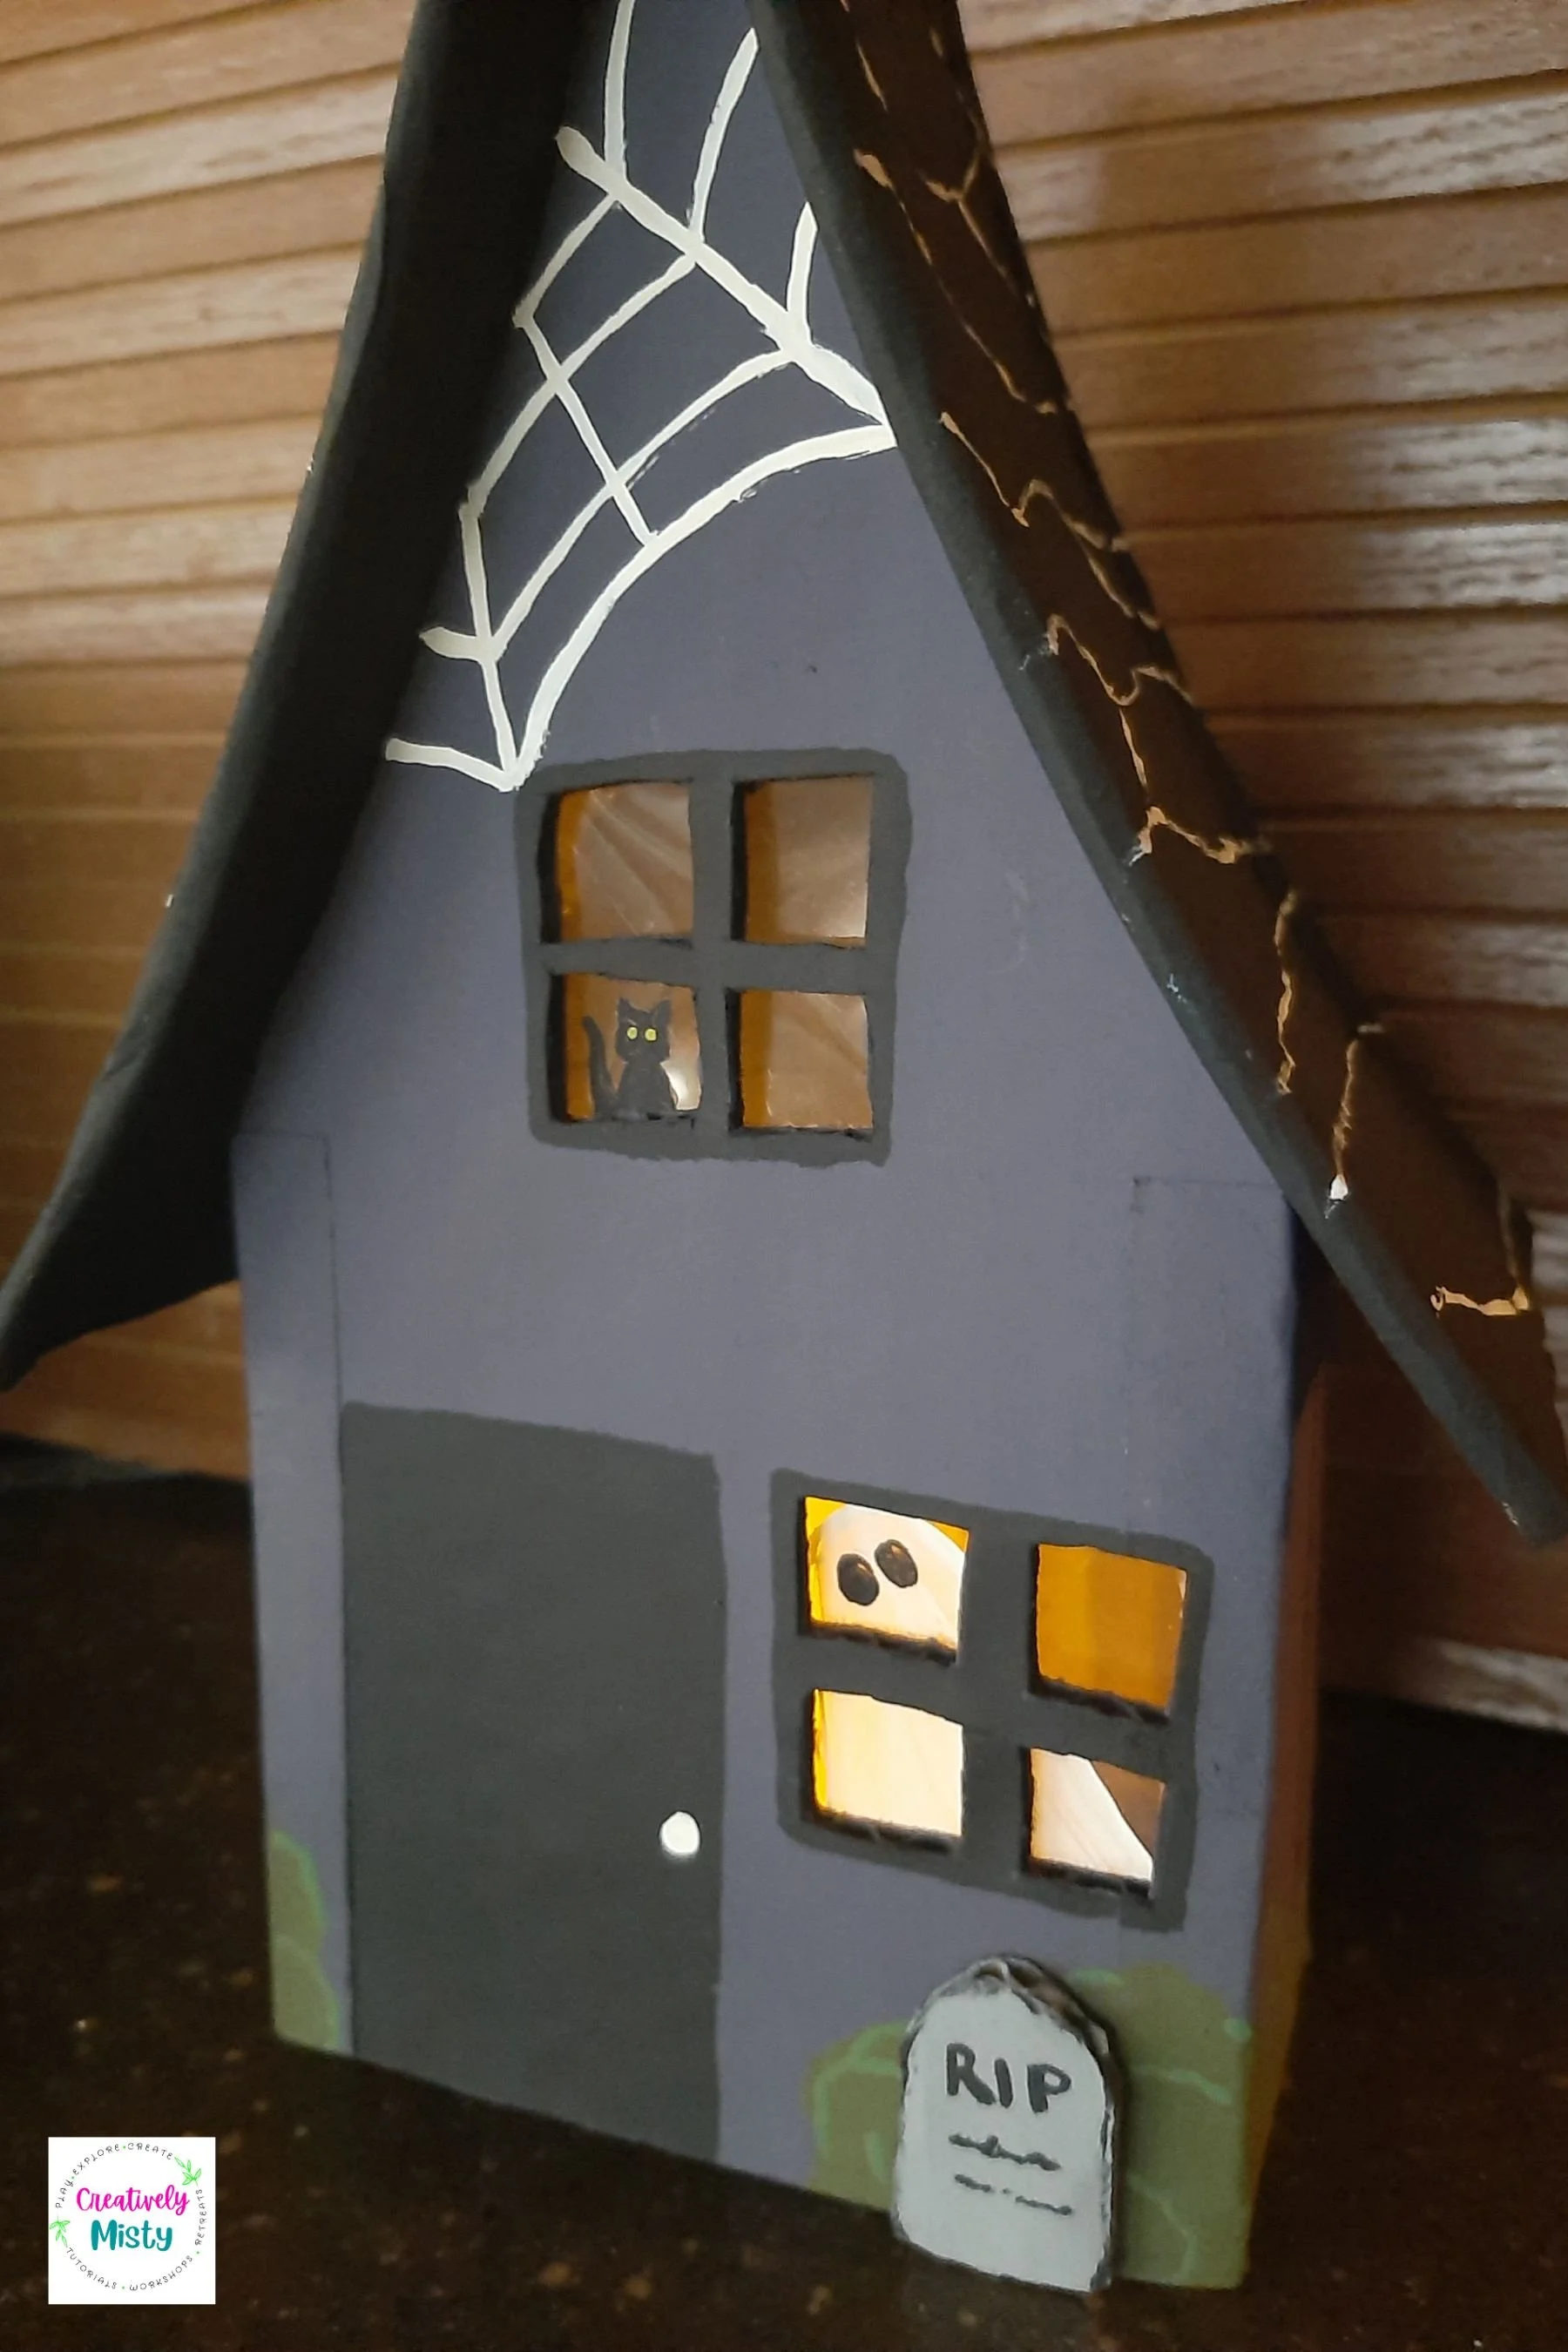
Paint your images (ghosts, cats, witches, etc.) on the front of the acetate squares and let dry.
Adhere the acetate squares on the inside of the windows.
Cut two 2.5"x4” cardboard rectangles for the house sides.
Adhere the sides to the front and back of the house.
Optional for smooth edges: Adhere 1/2” strips of paper bag around each joined edge of the house.
Cut two 3.5x6.5” cardboard rectangles for the roof panels.
Optional for smooth edges: Adhere 1/2” strips of paper bag around all edges of the two roof panels.
Adhere the roof panels to the house.
Paint and embellish as desired.
Happy Crafting,
Misty
I’d love to see all your great designs! Post a photo to the Facebook community, Instagram with the hashtag #MadeWithCreativelyMisty, or below in the comments.
Love this free tutorial? There’s plenty more to choose from. Find more free tutorials here. Ready to up your crafting game? Look into booking one of my creative workshops.
