

DIY Autumn Charm Necklace
Sometimes I recommend and attach affiliate links to products in my tutorials. If you click on those links and buy something, I will make small commission at no extra cost to you.
Skill level: Intermediate
Time needed: 1-2 hours
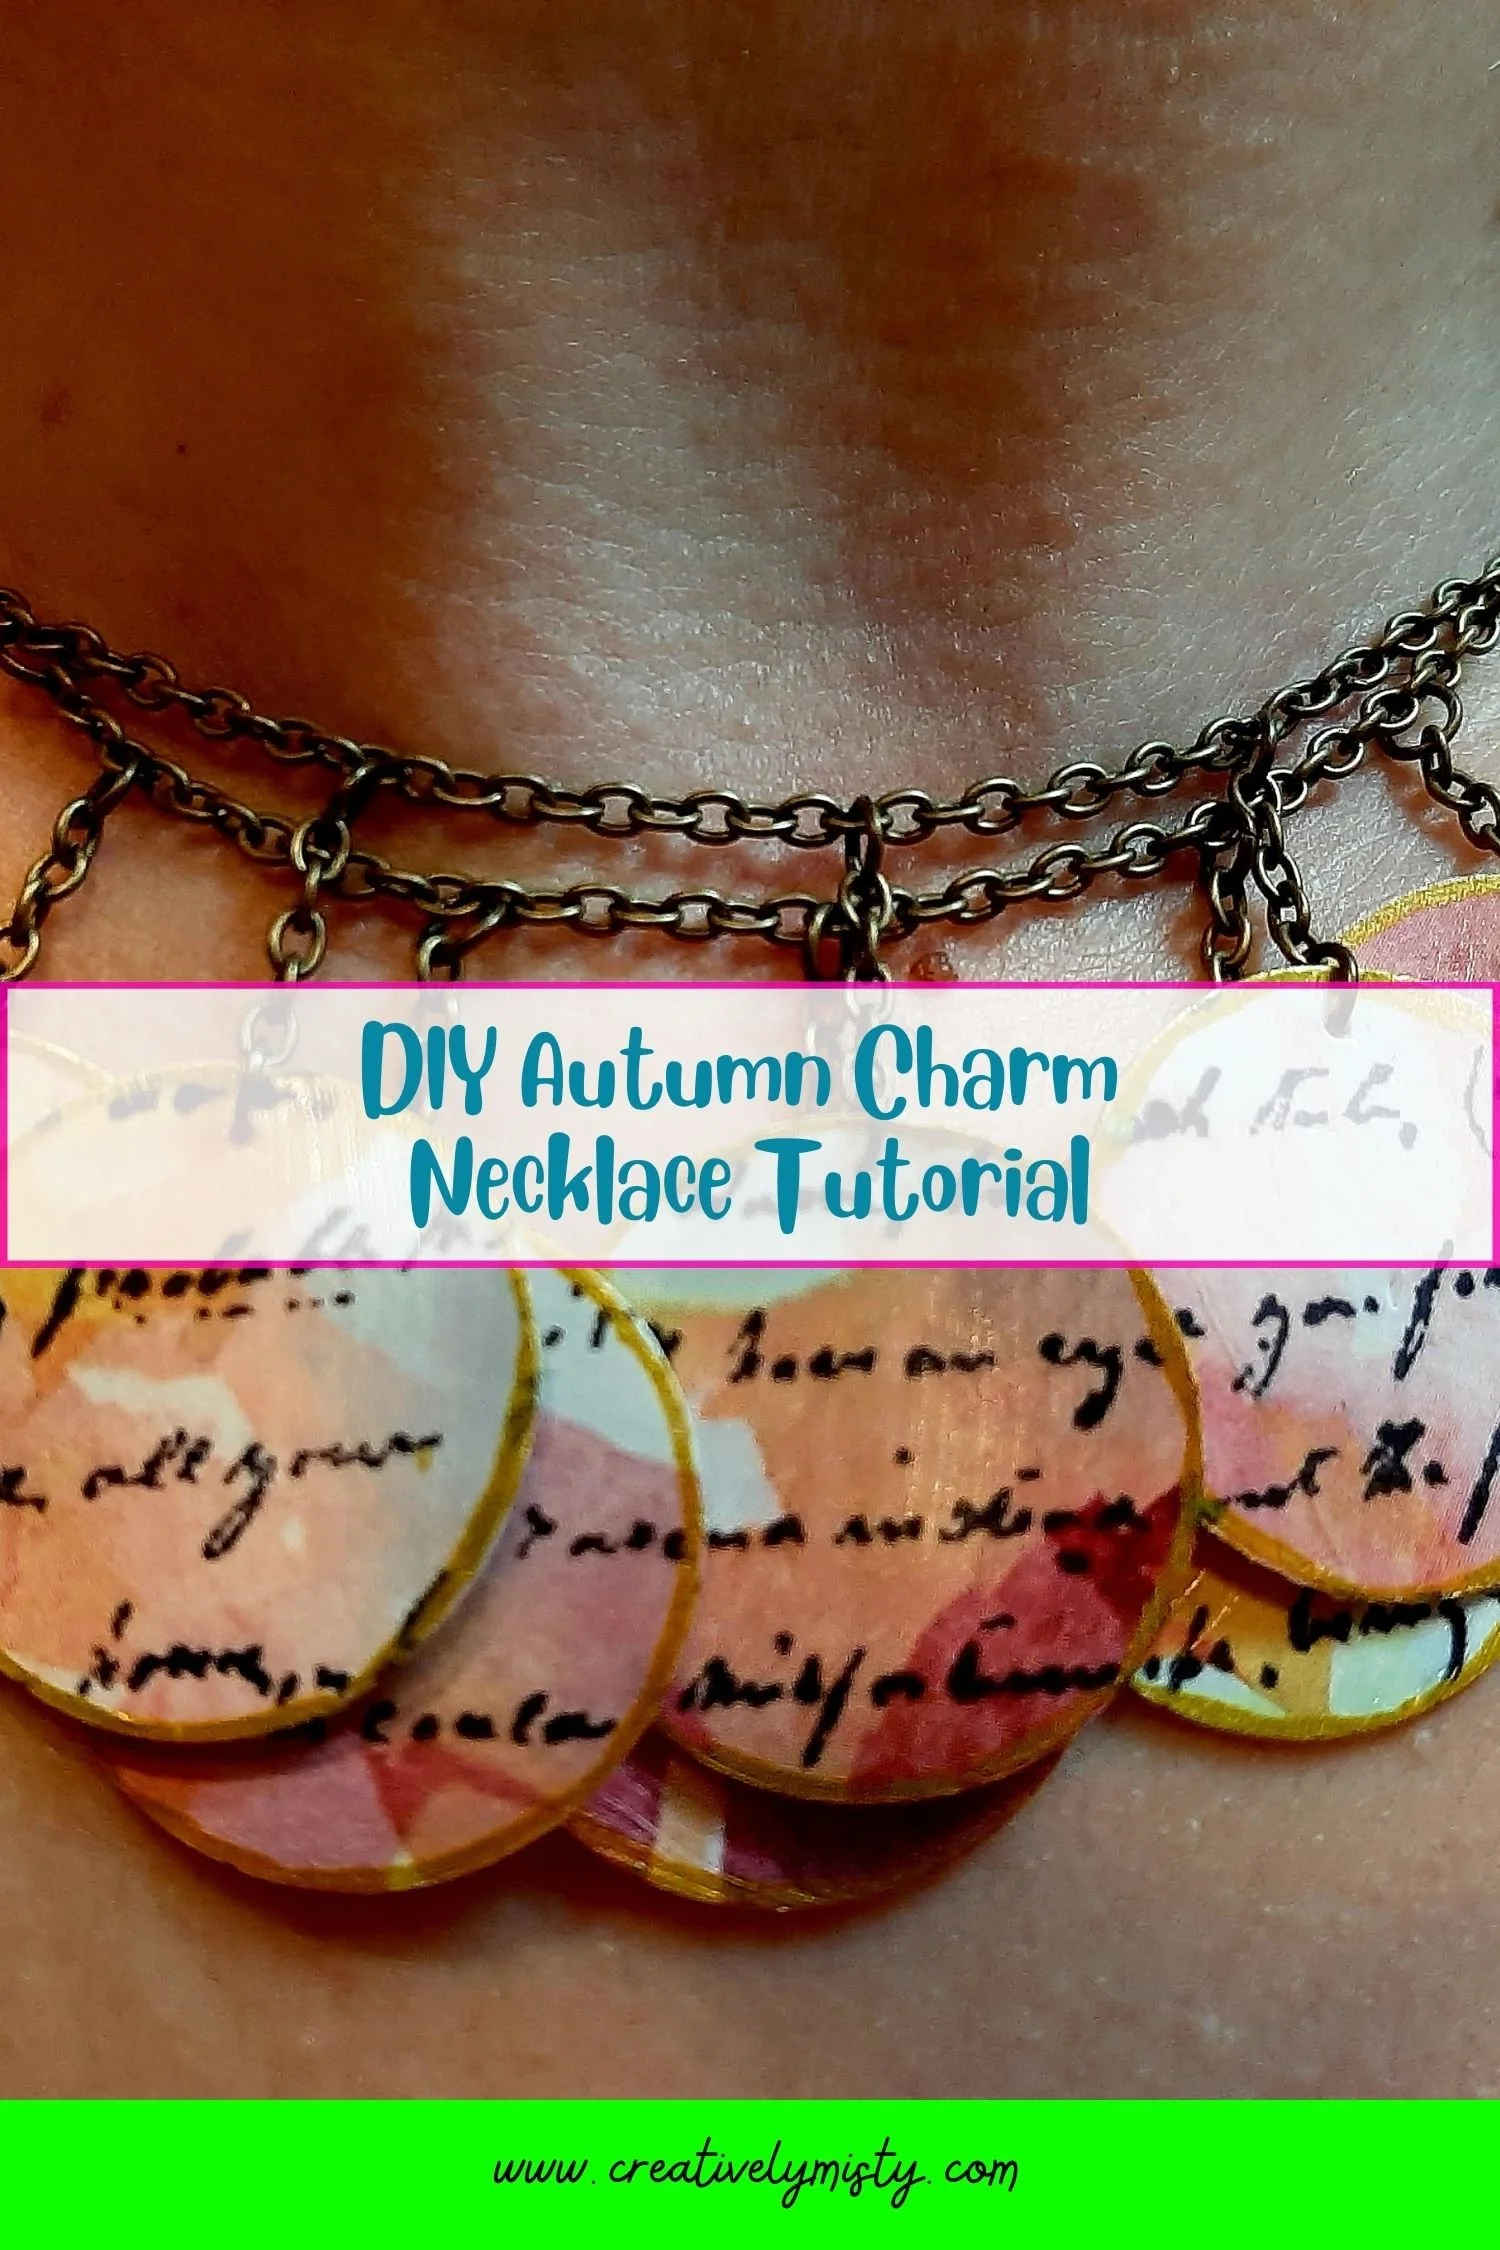
Papercrafting and jewelry…does it get any better? Today’s project is a fun, DIY charm necklace featuring beautiful autumn-inspired cardstock.
In the tutorial below you’ll learn how to create detailed paper charms using stamps and paint paints. You’ll also learn how to create layered chains and attach your charms for a beautiful new necklace. This project does require patience and time so be prepared to give lots of both before starting.
Interested in creating a bracelet instead? Just shorten your necklace and voila!
Supplies:
Double-sided Cardstock
1” circle paper punch
Writing stamp
Paint pen
Chain
Jump rings
Jewelry pliers
Lobster claw

Punch out eight 1” cardstock circles.
Stamp over the top of five of the circles.
Trace the edge of all circles with the paint pen and let dry.
Repeat step three on the back of all circles.
Seal all circles and let dry completely.
Repeat step five on the back of all circles.
Poke a small hole in the top of all circles.
Cut eight 1/2” lengths of chain.
Add a jump ring and one 1/2” length of chain to all circles.
Cut a 12” length of chain.
Using a jump ring attach one of the stamped circles to the center of the 12” chain.
Using a jump ring attach one of the stamped circles to the 12” chain 3/4” from the left and right of the center circle. Set aside.
Cut a 3” length of chain.
Using a jump ring attach one of the circles to the center of the 3” chain.
Using a jump ring attach one of the stamped circles to the 3” chain 1/2” to the left of the center circle.
Using a jump ring attach one of the circles to the 3” chain 1/2” to the left of the stamped circle.
Repeat step 15 and 16 on the right side of the 3” chain.
Using jump rings, attach the 3” chain to the 12” chain 3/4” from the left and right of the circles. These circles should hang behind the other circles.
Attach a jump ring to one end of the 12” chain.
Attach a lobster claw to other end of the 12” chain.
Happy crafting,
Misty
I’d love to see how beautiful your necklace turned out! Post a photo to the Facebook community, Instagram with the hashtag #MadeWithCreativelyMisty, or below in the comments.
Love this free tutorial? There’s plenty more to choose from. Find more free tutorials here. Ready to up your crafting game? Look into booking one of my creative workshops.
