

Distressed Fall Card Tutorial
Sometimes I recommend and attach affiliate links to products in my tutorials. If you click on those links and buy something, I will make small commission at no extra cost to you.
Skill level: Beginner
Time needed: 10 minutes
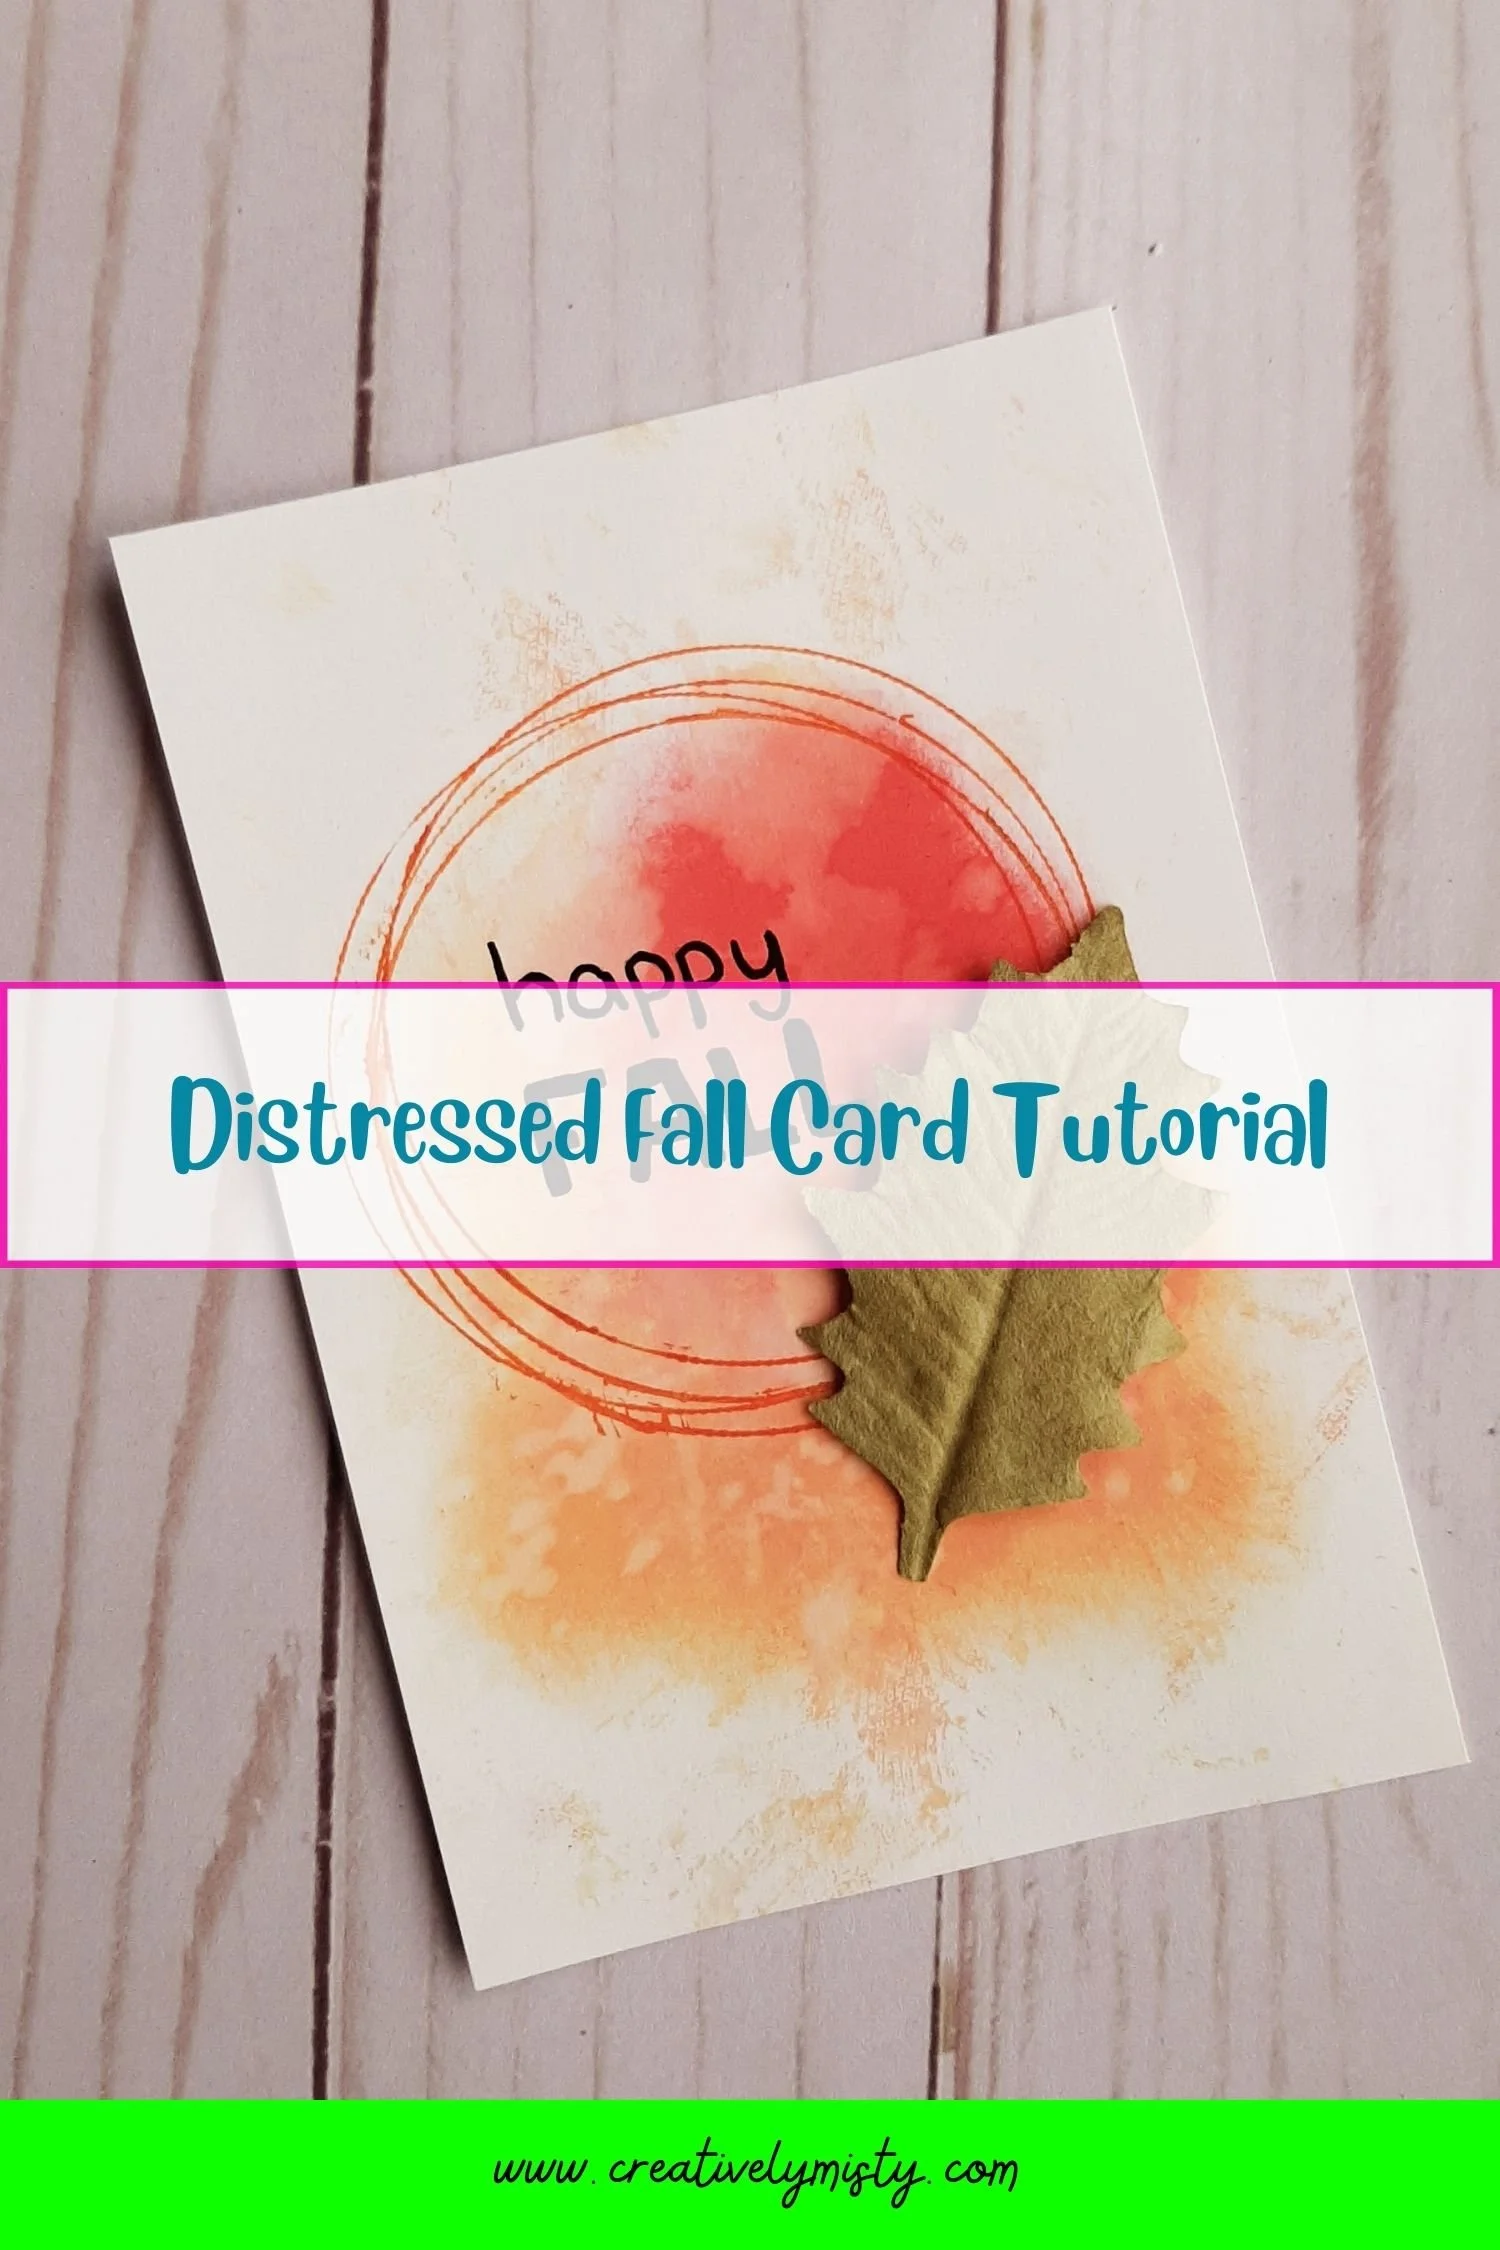
Cards are something I love making for every season. Today I’m showing you how to create some simple distress cards perfect for fall. This is a great beginner project if you’re new to distress inks.
Ready to get started? Below is a supply list and step-by-step instructions on how to construct your new cards. Have fun!
Supplies:
Distress inks- 2 or 3 colors
Paint pens
Water
White cardstock
Paper glue or tape runner
Leaf embellishments
Cut a 6x8” rectangle.
Fold in half to create a 4x6” card base.
Rub the distress inks onto the 3.5x5.5” rectangle anyway you choose but sticking mainly to the center.
Spray or flick water onto the surface of the inks and let sit for a minute.
Dab the remaining water off with a dust free piece of fabric.
Let the card dry completely before moving on. You can speed this up with a heat gun or hair dryer.
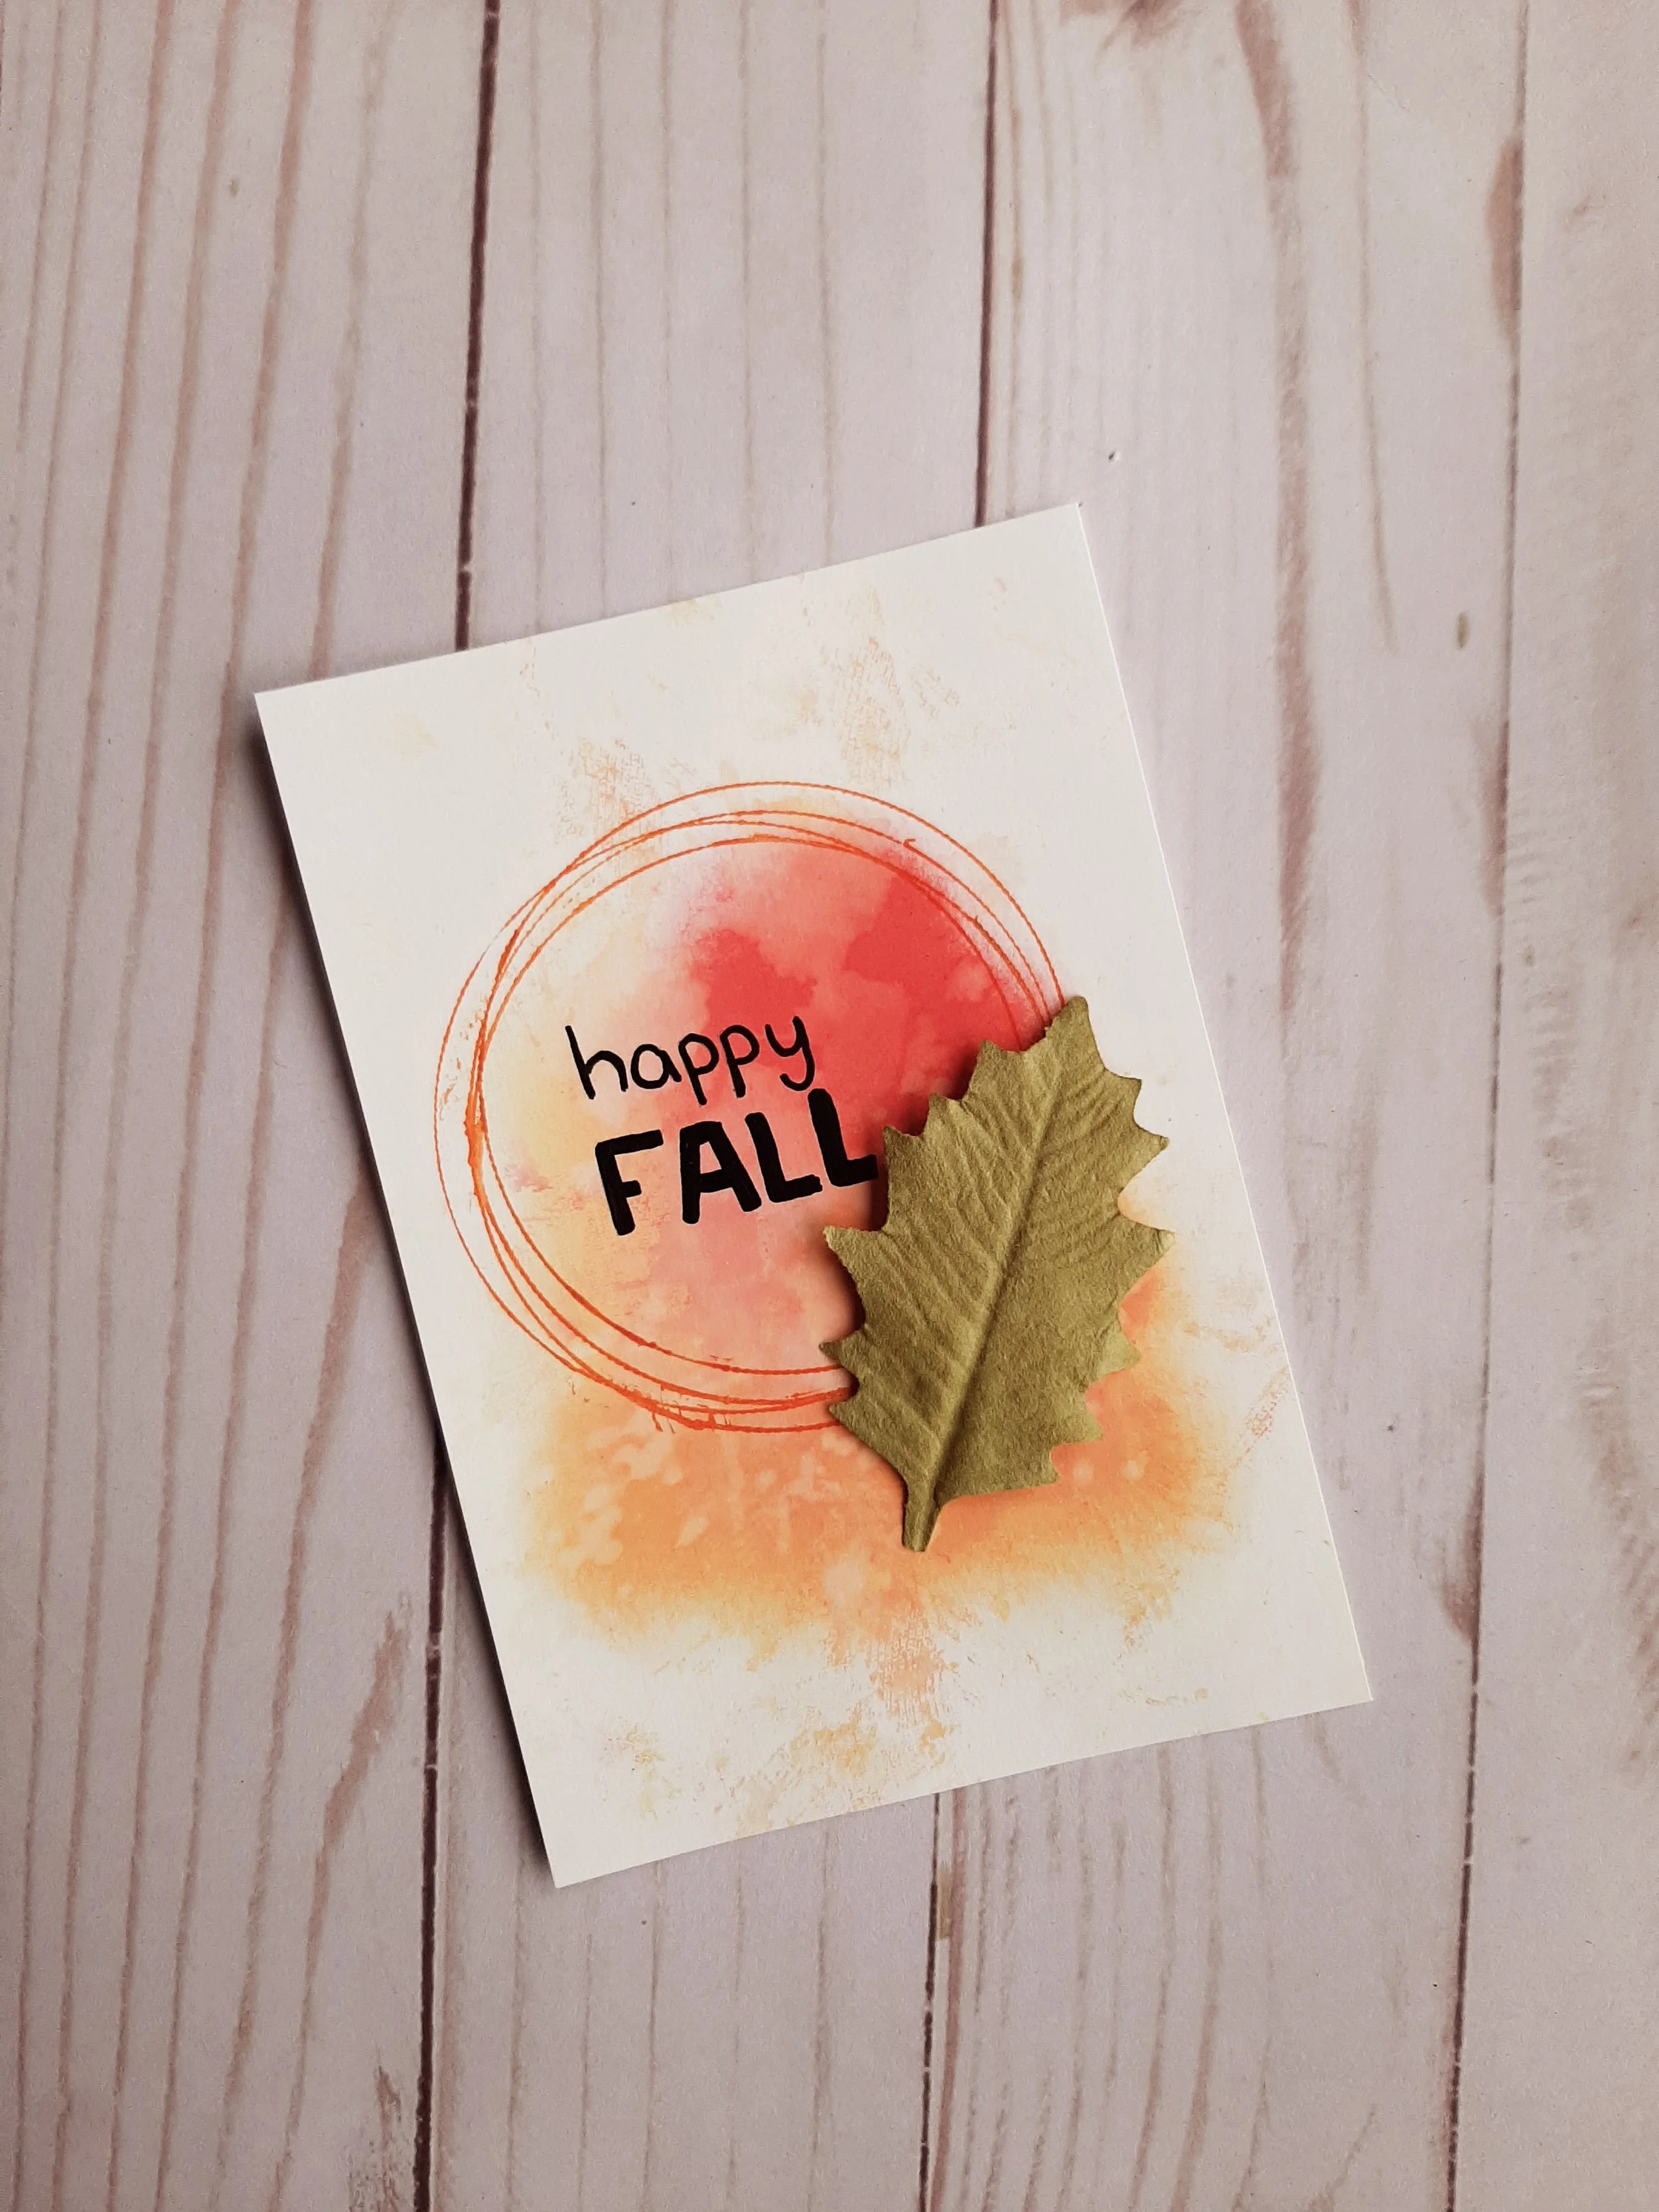
Use the paint pens to write “happy fall” semi in the center of the card (you can also use a stamp if you’d rather).
Use a paint pen (and round object like a lid, if needed) to draw four or five large circles around your phrase.
Add leaf embellishments as desired.
Happy crafting,
Misty
I’d love to see your designs and what you come up with! Post a photo to the Facebook community, Instagram with the hashtag #MadeWithCreativelyMisty, or below in the comments.
Love this free tutorial? There’s plenty more to choose from. Find more free tutorials here. Ready to up your crafting game? Look into booking one of my creative workshops.
